

 I always follow this small quote when started blogging. The quote says “the blogger should love its blog as if he loves himself”. The more ease you provide for your readers the more respect and faith you get from them. And adding a 404 page follow this instinct of your love toward your blog. Though many would not consider it, but you should add a custom message that would provide your readers the confidence in your blog content.
A 404 page message is shown only when someone tries to reach a particular article that is not present in your blog or its address had been changed. The blogger redirect to its default blogger page which is many ways just does the work but not helps or entertains your readers it should have done if the link would not be broken. Therefore custom 404 page is the must include function of your blog just like SEO.
In these tutorials we would add a custom 404 Page in our blogger blogs. Here in the tutorials we will cover two methods (A & B) and one method (C) to redirect your readers to home page (Methods C is not recommended).
1: Go to Pages tab in blogger and click new page.
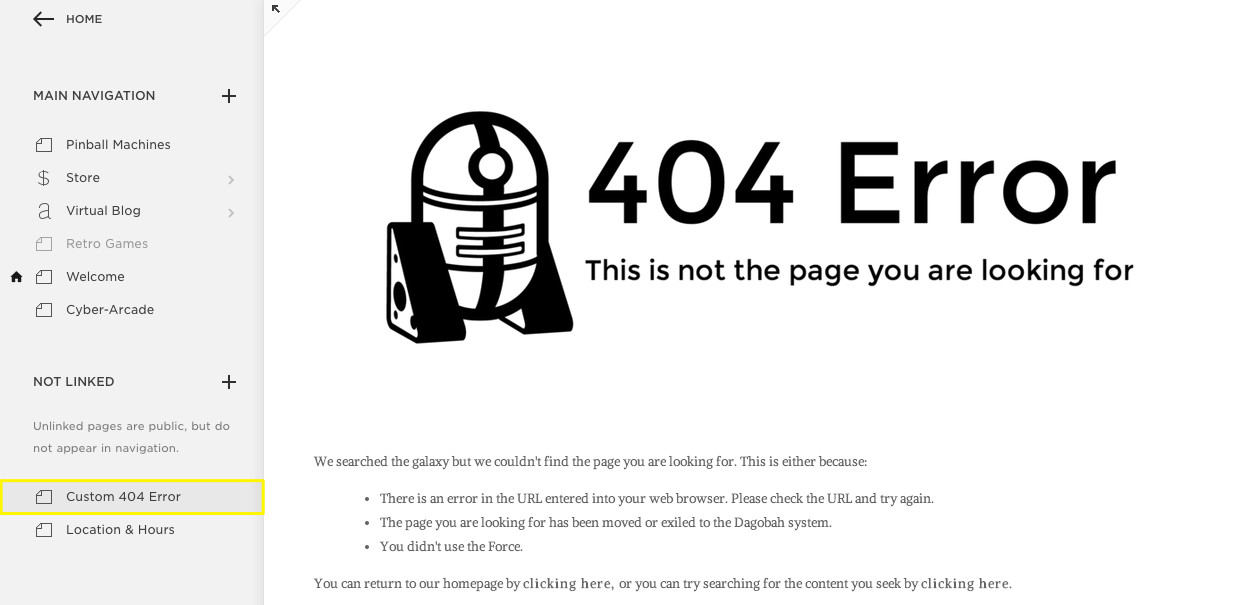
2: Add your message and some like in this example I have done.
3: Now click HTML and copy all the code from it.


Now in this code replace “URL of your 404 page” with your page link. See in my code I have included style tag to format the 404 page style. You can see in order to easily redirect to 404 page I have assign most of the blogger element CSS property to display it to none so it could redirect without loading anything on the default 404 page. You may wonder why I have not included body style to none that would more easily, but if the reader is using older browser it may not run the JavaScript then the above message will display.
Yes just paste this code in “Custom page not found” field.
Method A:Here we will create HTML message which can done by creating a dummy page in blogger.
1: Go to Pages tab in blogger and click new page.
2: Add your message and some like in this example I have done.

4: Now go to Setting >> search preference >> and click edit in "Custom page not found" section and paste that code you have copied and save it to complete this method.

Methods B:
What if you want to redirect your readers to your custom created page that we have created in first step of above method. This allows you to have more customized options 404 pages as in my case
For this simply copy and paste the following code in your “Custom page not found” section.
Oops page not found go to <a expr:href='data:blog.homepageUrl'>Home page</a> for more interesting article.
<style>
.status-msg-border {
    opacity: 0.4;
    width: 100%;
    position: relative;
    border: none !important;
}
.status-msg-body {
    z-index: 4;
    position: absolute;
    width: 100%;
    padding: 0.3em 0px;
    text-align: center;
    background-color: #FFF  !important;
}
#secondarybpart{display:none  !important;}
#primarybpart{width:100%  !important;}

#accessbpart,#colophon, #blog-pager ,#stats,#brandingbpart,.ad-banner{
   display:none  !important;
}

#contentbpart .post {
    padding-bottom: 0px !important;
}
#contentbpart {
padding:none !important;
    position: fixed;
margin-top:17%
}
</style>

<script>
    if(1){
      window.location = "URL of your 404 page";
    }
  </script>
Now in this code replace “URL of your 404 page” with your page link. See in my code I have included style tag to format the 404 page style. You can see in order to easily redirect to 404 page I have assign most of the blogger element CSS property to display it to none so it could redirect without loading anything on the default 404 page. You may wonder why I have not included body style to none that would more easily, but if the reader is using older browser it may not run the JavaScript then the above message will display.
Method C:Can I use JavaScript to automatically redirect to home page after some time.
Yes just paste this code in “Custom page not found” field.
<meta http-equiv="refresh" content="3;url=your_home_PAGE URL" />
<h1>Redirecting in 3 seconds…..</h1>
Here “3” represent time in seconds.
One more thing I would personally not suggest you to redirect automatically the readers to homepage since this will not allow readers to interact with your website and learn its structure for future visits. This interaction is necessary for you because it will help for them to easily handle your website and give them more familiar’s landscape so that they should not feel like foreign or new visitor when they give a visit to your blog one more time.
If you face any problem regarding this tutorial drop your comment below.
We are always here for help

0 comments:
Post a Comment