Mac webcams include a light that turns on when your webcam is in use. With the right command, you can check which application is actually using your webcam.
Webcam spying is not some niche issue—-it’s very real. If you’re concerned about someone spying on you via your webcam, you may want to disable your webcam altogether to prevent any risk of spying. You can also install the Oversight app to get notifications whenever an app starts using your Mac’s webcam. But, if you’d rather just quickly check yourself—and avoid using third-party tools—you can use the tools built into your Mac.
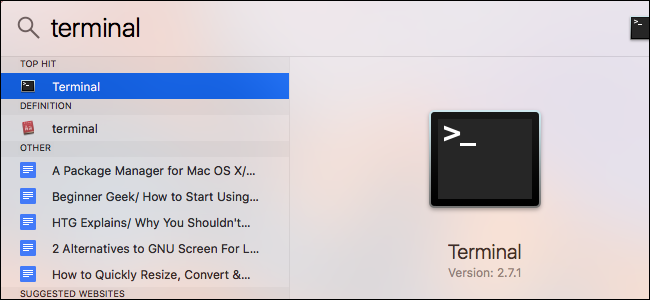
You’ll need to launch a Terminal window to do this. To do this, open Spotlight search by pressing Command+Space, type “Terminal” into the box that appears, and press Enter. You could also open a Finder window and navigate to Applications > Utilities > Terminal.

To find running processes using the webcam, type the following command in the terminal and press Enter. This line lists all open files and the processes associated with them, “pipes” that output to the grep command, and then the grep command searches for processes that have a file representing the webcam open.
lsof | grep "AppleCamera"
You should see one or more results. If you don’t see any results, try running the following commands as well. One of the below commands may be necessary if you’re using an older version of macOS.
lsof | grep "iSight"
lsof | grep "VDC"
The name of the process will appear at the left side of each line. In the line below, we can see the “Skype” process is using the webcam. If multiple applications are using the webcam, you may see multiple results.
This command will only show you processes that are currently using the webcam. If a process was using the webcam a few seconds ago but wasn’t using the webcam when you ran the command, it won’t appear in the list.

To view more information about what exactly a process is, you can use the process ID displayed here. The process ID is the number displayed to the right of the process name. For example, in the screenshot above, the process ID is “1622”.
Type the following command, replacing #### with the process ID, to view more information:
ps -p ####
In the example here, we ran
ps -p 1622. This showed more information about the process, including that it’s part of the Skype application at /Applications/Skype.app. If an application ever has a confusing process name, the ps command should point you to the application it’s a part of. If the command shows an application you don’t recognize, you may need to search the web to find what it is. If it’s a suspicious process, you can kill it by entering the following command and then providing your password when prompted:
sudo kill -9 ####
This command will always kill a process, even if the process doesn’t want to quit normally.
If you do have malicious software running on your Mac, you’ll want to remove the malware properly to get rid of it for good, rather than simply ending its process.


0 comments:
Post a Comment