

 Floating sharing Bar is quite popular among Bloggers who always tries to make blog socially available to everyone, and sharing is one of best method by which readers can easily share with their friends. This not only help the readers but also the blogger who’s blog been shared among hundreds of people. This in turn bring readers directly to their blog. This can be done using floating Shareable widget which we will discuss here.
 Floating Bar not only helps you to increase your blogs social availability but also it increases the chances of sharing your post by readers with their friends since its floats just side by side to your blog post
The biggest problem while implement this Floating bar is that it cannot be customized according to blogger need only if blogger is itself a good HTML programmer. But the widget I will be discussing here is much simpler in coding and as well as much simple to implement. The widget is also can be easily customized.
This tutorials is divided into two parts A and B.
In Part A: we will create our Widget using Shareaholic website which is Free of cost and
In Part B: We will implement this code into our Blogger Template
So let’s Get Started
Note: If you have already created apps using Shareaholic you can skip to Part B
Part A: Creating Shareaholic Sharing App
1: Firstly register with your account in Shareaholic Website. Sign up there. Now login with credentials and click on “For you Site”
2: Now click on ‘Get Started’. It will Ask you to Add Your Website, just fill the information required and save it. Now after adding your website it will provided you with an analyze code that you to place before </head> in your Blogger Template. Save this Code we will integrate this Code in Part B process.
3: Now all you have to do is to create sharing App that we will use to integrate into our Blogger.
4: Now Customized the Widget According to your need I personally recommend to follows this Settings. It’s important you should select ‘No Headings’.
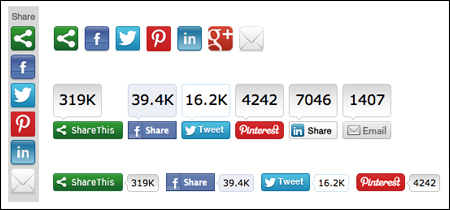
5: Now save your settings and get your code of it. It may appear like this
<div class="shareaholic-canvas" data-app-id="some number" data-app="share_buttons">
</div>
<div class="shareaholic-canvas" data-app-id="some number" data-app="share_buttons">
</div>
Since we have created ours Widgets now we have to integrate this code in our Blogger template
Part B: Integrating Code
1: Now go to your Blog>> Template >> Edit HTML (you may backup your template First)
2: And Search for </head> paste that Analyze Code Just BEFORE it.
3: Now search for following code using CTRL+F
<b:includable id='post' var='post'>
4: Now copy and paste the Following Code just AFTER it
<!--Floating bar Eutectics Starts Here-->
<b:if cond="data:blog.pageType == "item"">
<style>
.Eu_social_floating{
position:fixed; top:25%;
margin-left:-90px;float:left;
width:70px;
background-color:#ffffff;
padding: 5px 0 0px 0px;
border-top:0px solid #ddd;
border-left:0px solid #ddd;
border-right:0px solid #ddd;
border-bottom:0px solid #ddd;
z-index:9999px !important;
border-radius:5px;
-moz-border-radius:5px;
-webkit-border-radius:5px;
}
</style>
<div class="Eu_social_floating">
You’re Sharing app Code
</div>
</b:if>
<!--Floating bar Eutectics Ends Here-->
5: Now paste your sharing apps Code in place ‘Your Shareaholic Code’
Simply save it, you are done Congrats!
See your post page it will starts appearing already.
Important Notes for Geeks like You:
1: To Change Your Widget Background Color
Background-color:#ffffff
2: To Give border to your widget
border-top:0px solid #ddd;
border-left:0px solid #ddd;
border-right:0px solid #ddd;
border-bottom:0px solid #ddd;
By default color border color is #ddd and its width is 0px i.e no border
3: To Change your Widget width
width : 70px
4: To Change its position horizontally according to your post content
margin-left:-90px;
If you decrease its value from -90px to -100px it will move more towards LEFT and similarly
If you increase its value from -90px to -80px it will move more towards RIGHT.
5: To change its Position Vertically change the Value of following
top:25%;
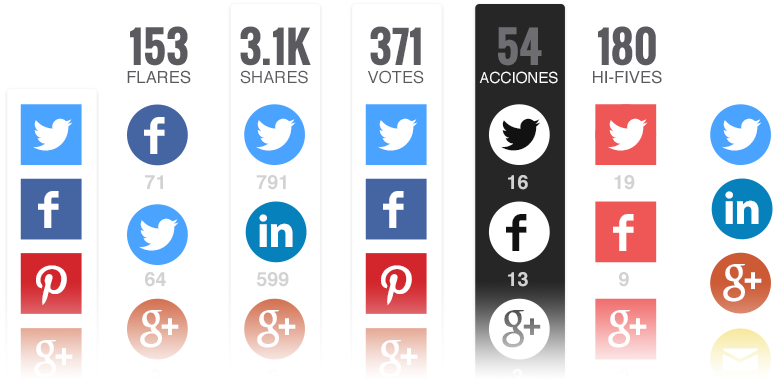
Also you can change setting from Shareaholic Page to change its appearance. Like in this examples
Another approach towards the same result :
In this method we would make the scrolling Social bar interactive with some JavaScript. Here in this case, the Social bar will follow the readers till the end of page. The social bar will got fixed only when readers scroll just below post title and remain fixed till the end. Add the CSS just above ]]></b:skin>
.Eu_social_floating{
    position:absolute;
    margin-left:-90px;float:left;
    width:70px;
    background-color:#ffffff;
     padding: 5px 0 0px 0px;
     border-top:0px solid #ddd;
border-left:0px solid #ddd;
border-right:0px solid #ddd;
border-bottom:0px solid #ddd;
z-index:9999px !important;
border-radius:5px;
-moz-border-radius:5px;
-webkit-border-radius:5px;
}
.sticky {
  position: fixed!important;
  z-index: 100;
  margin-top: 10px;
  top: 0;
}
<script type='text/javascript'> $(document).ready(function() { var stickyNavTop = $('.Eu_social_floating').offset().top; var stickyNav = function(){ var scrollTop = $(window).scrollTop(); if(scrollTop > stickyNavTop){$('.Eu_social_floating').addClass('sticky');}else{$('.Eu_social_floating').removeClass('sticky');}}; stickyNav(); $(window).scroll(function() { stickyNav(); }); });</script>
You may wonder how this widget works, the answer is quite simple. Basically the widget we have created is design to appear/Render within the post body, say like below the post. But to make Render like Floating Bar I have created this small Code that Float like Fixed Widget into the Blogger template so as to allow the Shareaholic Share Code to render within it. Cool Huh!
If you face any problem regarding this tutorial feel free to drop your comment below

0 comments:
Post a Comment