

 The new Apple MacBook pro comes with a fast Intel core i5 or i7 processor, splendid Retina display, a hint Bar (if you're fortunate), and enough juice to closing a coast-to-coast flight with electricity to spare. Now that you've delivered it domestic, what do you want to do to get it up and running? here's a brief primer.
1.
Plug it in
even though the gadget comes with a bit of juice inside the battery from its publish-meeting checking out, you'll nevertheless want to plug the machine in "simply in case."

there is no way of understanding how long the machine has been sitting around because it left the manufacturing unit hundreds of miles away, and it might be unfortunate if it misplaced electricity throughout the setup process, due to the fact you would likely must begin over. Plug the USB-C charger in, and you are geared up to transport on to the following step.
2.
Press the strength button
The power button is the pinnacle-maximum right key above the delete key. in case you've upgraded from an older pre-2012 MacBook or MacBook seasoned, you may notice this is in which the DVD eject button used to live.
 3.
3.pick your us of a
The MacBook seasoned will ask you what usa you are in. this can guide which language you're the use of, as well as figuring out the layout for such things as dates, time, and the language in in macOS.

select effectively in your behavior, considering most people are picky about things like day-month-year collection and whether to apply 24-hour time or AM/PM. you could trade or correct this placing later inside the Language & textual content manipulate panel.
4.
pick your keyboard
right off the bat, it must advocate the united states QWERTY keyboard as preferred.

select display All in case you want to plug in a foreign keyboard or if you're putting in a MacBook seasoned which you've sold distant places.
5.
connect to wi-fi
The device will ask you to connect to a wi-fi community. select your router from the listing of SSIDs supplied, or click on the "use some other community" button in case you're using an Ethernet adapter or don't desire to connect to a community presently.

The MacBook seasoned has an 802.11ac wireless adapter in it, so it need to connect with any wi-fi router. (For greater, check out how to installation and Optimize Your wi-fi Router.)
6.
Migrate your stuff
The MacBook pro will provide you with the choice to migrate your debts, password, apps, documents, and environment from any other Mac. if you have a Thunderbolt cable and adapter, you could join your vintage Mac at this time.

if you're the usage of a Time gadget backup from an older Mac, you could join the force now. when you connect the force and click subsequent, you can select a backup or account to transport over to your new MacBook pro.
7.
set up iCloud
The MacBook pro will ask you to log in to your iCloud account with the aid of entering your Apple identity and password. this is equivalent for your .Mac or Me.com account if you're a veteran Apple user. If that is your first Mac, it would behoove you to create an iCloud account now.

This way you can take benefit of iCloud's loose capabilities, like e mail, find my Mac, and Keychain password sync with iOS gadgets. when you have a separate Apple id in your iTunes account, you can input this data here too. otherwise, your Apple identity will paintings for each iTunes and iCloud.

We endorse which you allow area offerings and use "discover My Mac," as it will assist you recover a lost MacBook pro in case you leave it in a coffee keep or maybe if it's miles stolen.
8.
agree to phrases and situations
you may need to agree to the phrases and situations subsequent; they're pretty trendy legalese that almost no one reads.

9.
select a username and password
you can just permit macOS make up one based on your full name, but you can alternate that on this display screen. you are also required to pick out a password at this time. if you want to disable your password later (even though you should not), you may do that in the safety or the customers & companies manage panel.

10.
select or decide out of Diagnostics & usage
it's far an egalitarian idea, however permitting worm reviews will help developers restore and update troubles with macOS programs and the operating machine itself. Uncheck those containers if you'd instead maintain a bigger semblance of privacy.

11.
enable Siri
Siri is the automatic assistant brought with iOS. since this is a emblem-new MacBook seasoned, you ought to have extra than sufficient energy to run Siri with very little slowdown in your multitasking.

12.
installation contact id
another crossover from the iPhone is contact identification, which helps you to log in with out typing your password. you'll nonetheless want to bear in mind it for the first time going online after a reboot, however it is able to shave treasured seconds when you wake the device from sleep mode.

13.
Input your fingerprint to allow touch identification
begin with the index finger for your dominant hand. you could continually add others later. similar to at the iPhone, you will want to faucet and raise your finger several instances to sign in all the arches, loops, and whorls.

14.
it is it!
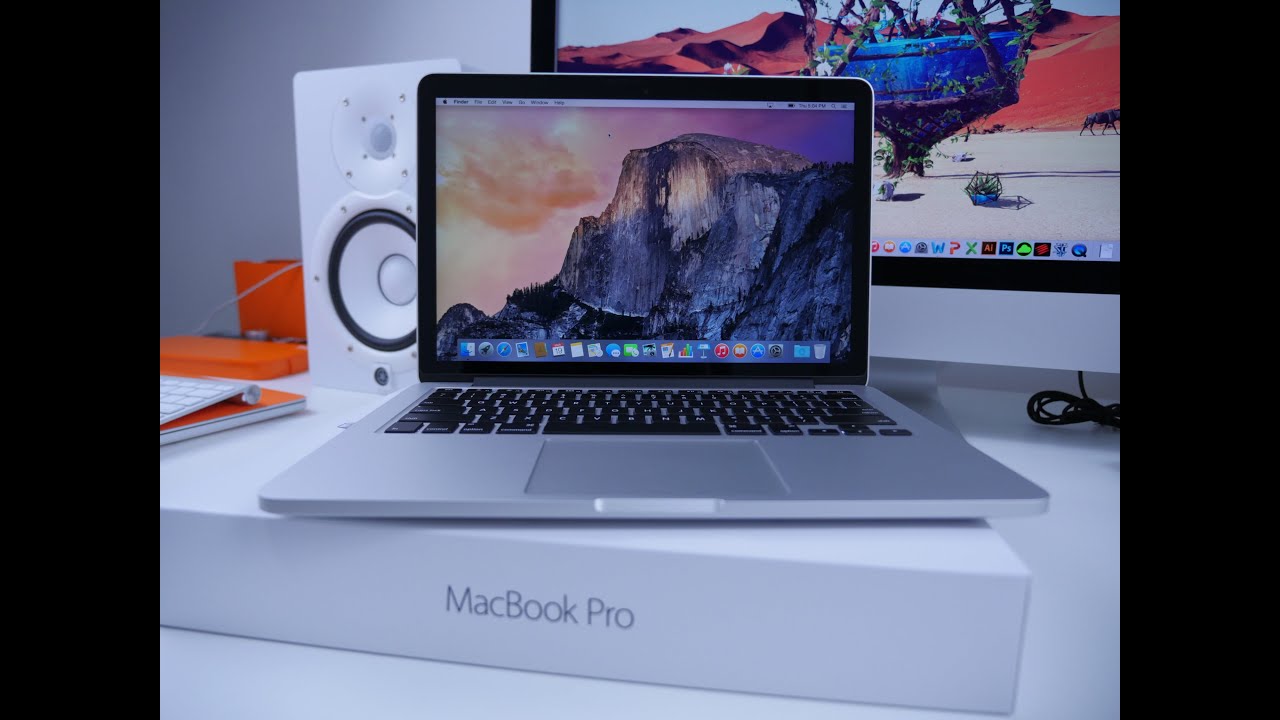
the subsequent screen you notice should be of the Mac submitting all of this information away, and then you definitely have to see the majestic peaks of the Sierra computer.


if you have a hint Bar-enabled MacBook seasoned, test out 15 Cool

0 comments:
Post a Comment